Showing posts with label eyeliner. Show all posts

Thursday, January 5, 2012

Lancome's Newest Collection: Roseraie de Delices

Lancome's latest Spring 2012 collection by Aaron De May, their artistic director who is known in the industry as somewhat of a beauty genius (although he somewhat resembles the crypt keeper, see below for reference images), is an absolute beauty to behold. I want every single item they have put out for the collection and I'll show them to you so you can 'oooh' and 'aaaah' yourself.

Crypt Keeper


Aaron De May - Artistic Director of Lancome


As if Lady Gaga hadn't already told us in her latest music video for 'Marry the Night', mint is definitely going to be the huge color trend for Spring 2012 (she had insider information from Calvin Klein, Chanel and the likes) and that's okay with me because it is a delicate, feminine and fresh color. Without further adieu, I present to you the fabulous 5 color all-in-one shadow and liner compacts in Vert Tendresse and Rose Romance!


There's so many options with these! There's lid, crease, shadow, highlighter and liner in each of these, you can mix and match the colors for many different looks and combinations. The rose palette consists of peach and rose tones with a burgundy liner, while the green palette containing mint and forest greens with a darker grayish green liner. I love all of the colors because they have a shimmery iridescence to them that feels youthful and joyous. However, the cost of these is a little steep (as to be expected with Lancome products) at $48 each.

Now, I present to you what *really* caught my attention in this collection, the illuminating smooth powder which is a mixture of rosy pink and pastel shimmers. It's an all-in-one product for the cheeks and face, so you can use it as your face powder and blush, as well as highlighter (the parts that are more shimmery). The cost is, again, steep at $42, but it is such a beautiful item that appears to look like a bed of roses that it almost makes it worth the price.
My least favorite items in this collection are their waterproof eyeliner pens in green and white, I'm not a huge fan of their formulation, it's a little greasy for my taste,  but some people like that. Also, they're expensive at $25.50 each and you can probably find something similar in a drugstore.


The lipstick in this line is kind of adorable because the limited-edition packaging for the cotton candy shade and the color itself are the cutest. However, the 'Le French Touch Absolu Nu' lipstick costs $35 because of the packaging, while the rest are $29, $6 for packaging, Lancome?? Really??? I know that packaging didn't set them back anything so why are they overpricing? 'L'Absolu Rouge Nu' comes in the colors 'Sweet Marmalade' and 'Rose Petal'.
L'Absolu Rouge Nu in Sweet Marmalade
L'Absolute Roughe Nu in Rose Petal


Limited Edition - Le French Touch Absolu Nu in Cotton Candy

Saturday, November 26, 2011

Black Friday madness

So, after am enormous Thanksgiving meal, those of us dedicated to shopping, haul our fat butts out the door and waddle on to our store destinations. We do this, hoping against hope that we'll be amongst the first ones there. This is almost never the case, as people have been camping outside of the most popular stores (like Wal-Mart, Target, and Best Buy) for days in advance even in suburban localities outside of Seattle. So without any hope of ever reaching a cash-register within the next 12 hours at any of these stores, my husband and I moved onto ULTA. This store was the complete opposite, it had cutesy deals, very few ladies inside, no pushing or shoving, and we could easily reach the cash register. To me, the decision was simple, I'm a much larger fan of cosmetics than I am of technology anyway, so I picked up a few things.


They had this collection of items which were all just $1, so I grabbed 5 CHI Silk-infusions bottles for $5 because I love the way these make my hair feel (a small bottle usually retails for $14). Then, I purchased a mint lip-balm, swirl lipgloss and 3 ULTA nail polishes for another $5. Most of the items are $3 each, so the savings is of 66%. I purchased two Stila eyeliners in a pack, one being gold (named Koi) and one being silver (named Silver Dollar) as this was on special for $10 when the regular value is around $40, you can still get this deal here. I thought it was a great deal and Stila's smudge stick eyeliners are absolutely fabulous. The pigmentation is strong and they glide on very smooth and easily, they are absolutely perfect for the holiday season. I spent $20 in total on these items and ULTA gave me $5 Bonus Cash, which can be redeemed on the next $25+ purchase at their store. I was very happy with the overall experience.

Colors: The Jungle Look, Alter Ego, Scene Steel-er
I was drawn to the nail polish because the color was very pigmented and festive, also the price was right and I was looking for more colors to perform my 'water-marbled nails' look! This is a fun and funky way to set yourself apart from everyone else.

The next day, armed with new ambition and rigor, we headed out to Southcenter Mall in Renton, Washington. This place was controlled chaos. The parking lot was chock full of cars, there were tons of security guards throughout the mall, but if you can stand feeling claustrophobic, it was a fine shopping experience. The lines to cash out were not that long, especially at MAC. I went to use their BACK2MAC program where I recycled 12 containers and got 2 eyeshadows of my choice, in the colors Brown Script (matte2 finish) and Swish (frost finish). These colors are both very beautiful, and best of all, they were free! The color pay-off is great, as with all MAC eyeshadows and you can de-pot them (which I did) and then recycle these containers as well when you have 6. I only purchased a 15-color palette to house my colors.

MAC's Brown Script (Matte2)
MAC's Swish (Frost)
I hope you all had an amazing Thanksgiving and I would love to hear about your Black Friday deals! Stay tuned for our IKEA haul in an upcoming post!

Tuesday, November 8, 2011

Color Theory: My Eyes & which Color?

Ever wander through aisles of eyeshadows in Sephora and wonder which color would look best on you? Do you spend painstaking time staring blankly at the wall of eyeshadows only to come home and find that the color you picked doesn't look good on you? Wonder no more! Here is a comprehensive list of colors that will look great, look yours up by iris color! Colors that are always out of the question are red and yellow, these two colors will make you look like you have pink-eye or jaundice, so regardless of your iris shade, stay away from these.


Brown-eyed beauties
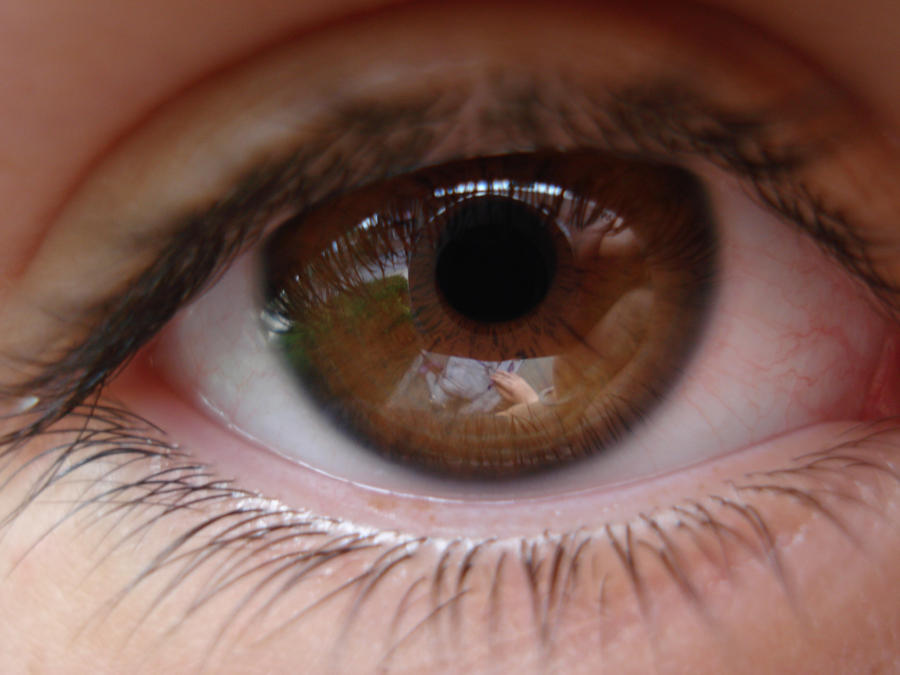
If you're in this category, you're pretty lucky... not just because this is also my color, but because you can get away with wearing a lot of different options. Purple, violet and mauves are by far the best looking on this color because they just make your eyes stand out and have an understated elegance. As with all colors, don't choose something that is extremely saturated, or if you do, make sure you apply it little by little. Anyone can look like a clown even using the colors that are best suited for them if they go overboard with pigmentation. Another great alternative is metal colors - golds, coppers, bronzes, and even silver all look wonderful. If you want a warmer look, you would stick to the gold, copper and bronze, but if you want a smokey, colder look, opt for silver and pewter-tones. Green and blue can work, if done in the right way, otherwise they tend to look a little out of place and will bring out redness in your eye. Consider using green and blue eyeliner or opting for more washed-out versions of the colors, or maybe pairing up these shades with browns along the contour of your eye. If you contour your eye with the same color as your iris, you can pretty much pull off any of these colors. Very pale vanilla and ivory tones work well as highlighters. You should wear black or mauve mascara as the mauve is a naturally enhancing tone for brown eyes.


Striking hazel
Good on you, if you have this color, you must be pretty smug about yourself, and if you're not, you should be. This color is absolutely breathtaking and your makeup should reflect the beauty of it rather than detract from it. Don't use any colors that compete with the color of your eyes (so if you have a hint of a color and you can see it in your eye, do not use an eyeshadow that appears to be that color). Apricot and pink are great highlighting tones that bring out the light in your eyes. You can use light jewel-tones, champagne, mauve, and green colors to accentuate your eye color. Try to stay away from extremely black eye-liner because it will overpower your eyes and create stark contrast, you should use brown eye-liner and consider lining your eyes with mauve or green, as well. Dark brown and black mascara are the best choices for you, as they will make your eyes pop and make your lashes look like they go on for days!


Gorgeous green
Green eyes look vibrant and alive, they are the color of all things natural and support earthy-colored makeup. Various kinds of browns, such as chocolate, or wood tones enhance your eye color naturally. Your eyeshadow should be the background of the picture you are trying to paint with your eyes as the focal point. Choose colors that will not detract from the natural beauty of your color. Dark greens work well because they will not compete with your lighter-toned eyes, metallics such as copper or gold can look very elegant and sultry with your eyes. Apricots and taupes work well and will bring out the color in your eyes, as well as deeper purples and plumes to create a luxurious, glamour-filled look. You should wear dark brown eyeliner if you have vivid green eyes, but if the green is more subtle, you can opt for black to make the color pop. You can also choose to wear green eyeliner as a continuation of your natural eye hue. You can wear purple, dark brown or black mascara, this is really a matter of preference, you will look great in either. Highlight colors should be light apricots, champagne, and vanillas. You should stay away from blues because they will compete with your eye color and make your green eyes pale in comparison (because the eyeshadow is likely to be a more potent pigment than your eyes). You may look great or awful in pink, so I suggest trying a light frosty shade and if you think it looks good, then work your way to a more saturated pink.


Bodacious blues
Last, but definitely not least, the eye color that is considered the highest echelon of beauty, born of the nordic gods of olden times: blue eyes. Almost all hues of brown will complement blue eyes, except for copper because of the red-tones that will compete with your own color. You have very many options because a wide array of colors tend to look great on your eyes. All neutrals will look great, plumes and purples, and metallics will give you much opportunity to play with eyeshadows and combinations. You can wear blue eyeshadow to accentuate the color in your eyes, as long as if your eyes are greyish blue, you pick out the blues that tend to have that similar slate tone, but if your eyes are bright blue, you should wear colors that remind you of the ocean, such as aqua, sea-foam, and sky blues. You can wear eyeliner in purples, blues, brown and black, but try not to go for the blackest black because it can overpower your eyes. Try to stay away from green tones because it will compete with your eye color, detracting from the natural beauty of your eye color. You can highlight your eyes with gold, cream, vanilla, ivory and almost any of the lightest colors. Mascara can be worn in purple, blue, brown, dark brown, and black.

How to Simply do the Perfect Smokey Eye

Following a few simple guidelines, you can create a simple smokey eye and tweak the various steps to create a look that is truly unique and beautiful; truly you.

First you will want to, as always when applying eye makeup, prime your eyelid with concealer or a primer, in my case I used MAC's NC20 concealer to create a flat surface to which the eyeshadow can adhere. Then take your favorite black pencil eyeliner, in my case Urban Decay's 24/7 eyeliner in 'Zero', and draw a line overtop of your lashes. Continue this line and smudge it up over your eyelid and even in the crease. Use a brush to smujdge it out and create this 'smoked' effect, don't worry about being too clean about it, the fabulous thing about a smokey eye is that it's supposed to look uncontrolled and sultry. Make sure to color in between your lashes so you don't have patches of skin that show underneath the smokey eye; fill in your lashes. Then use a black eyeshadow or a dark eyeshadow (in my case it is MAC's 'beauty marked') and apply it liberally over top of the smudged black liner. I suggest that if you have lighter skin like I do, you stick to a darker shade of a color rather than going with black. This is simply because you will have huge contrast between your eye makeup and your skin and might end up looking like a raccoon if you overdo it! That being said, you can truly use any eyeshadow for this as long as you blend, blend, blend it in!!!


The next step consists of taking a shade lighter than the shade used to cover the eyelid and contour the shape of the eye, I used Urban Decay's 'Last Call' eyeshadow also available as 'Queen' from the Alice in Wonderland palette. Accentuate the arch of your eye, this is where you can play with scale and shape and give yourself the desired shape you want. Some people choose to not blend in their shadow here but, as you can see, the color will look very potent and this may not be appropriate for wear during the day or at work. I choose to continue blending it in. I also apply a highlighter, usually just a white eyeshadow or a very light neutral, lighter than my skin-tone. I blend the contour color and the highlighter together thoroughly until no edge can be seen. The final step is an application of liquid liner, I used Stila's liquid liner and some black mascara to give it that polished look. Finally, you can line your waterline (underneath your eye, above your lower lashes) with one of the colors used and apply an eye pencil on top just to make the colors pop. This last part is entirely optional in the look, some people prefer not to do it because their eyes are too sensitive.


I chose to go in a purple/plum direction with this smokey eye look, particularly because purple makes brown eyes pop really nicely as it is a complementary color. However, this same look can be done using any color, or any neutral you'd like, just remember that the base color should be the darkest and anything you apply on the contour should be a shade or two lighter. Experiment with your looks and let me know what creative ideas you've come up with!

Sunday, November 6, 2011

Easy Eye Transformation

Do you ever wonder how to do a simple and foolproof winged liner that's appropriate for every day and work? Well look no further, in this post we'll discuss the proper order to put on your eyeshadows and how to easily apply your eyeliner! Firstly, you want to prime your eyelid all the way up to your eyebrows and under your eyes. This is because the eyeshadow won't stick properly all day long if you don't have a base for it. I used Benefit's Stay Don't Stray primer because I like the thick consistency of it, but a good substitute is a Mac concealer that fits your skin-tone, or Hard Candy's Nobody's Perfect concealer (available at Walmart for a whopping $6, including 6 shades!).
Rub the concealer in with your brush or fingertip, using your ring finger to apply the least amount of pressure to your eye (this avoids excessive wrinkles, ladies and gents).


This is a neutral look so I used the Urban Decay 'Naked palette' and MAC's 'Nylon' eyeshadow. For the base eyeshadow color, 'Naked' is a great option because it is just slightly darker than my skin-tone and shows barely a hint of color. This was applied with a regular eye-shadow brush and the color was packed on. Then, I used the color 'Buck' for the contour, going in a crescent shape around the ball of my eye, and you don't have to be too clean when you apply these colors because they will be blended together at the end. For the highlight, I used 'Nylon' from MAC because it's got a frosty sheen and is visibly lighter than my skin, attracting light underneath the eyebrow and away from any dark-circle. This makes eyes appear bright and refreshed.
Base (Naked), Contour (Buck), and Highlight (Nylon) eyeshadow application
For the winged-eyeliner application, I'm going to advise that if you are not experienced in this, you should use either an angular eyeliner brush or a brush-tipped applicator. I'm going to use the latter because I'm obsessed with Stila's 'Stay All Day Waterproof Liquid Eye Liner' (wow, that name is quite a mouthful). The tip is very fine, but the pen rests very stably   in my hand because, especially if I balance my arm on the table during my application. You should always rest your elbow on a flat, immovable surface when you do your eyeliner because otherwise the line will turn out shaky.
If you don't know where to start and you want to achieve an even winged look that is the same on both of your eyes, use these simple guidelines. The first line I draw is from the outer corner of my eye and points upwards to the end of my eyebrow, you can go as far with this line as you want to, it really depends how dramatic of a look you're going for (the farther, the more wingy it will be). Then, I go back to the inner corner of my eye and begin the contour of the line. Do not attempt to fill in as you're drawing the contour because you will not get as smooth of a finish, you want to get the contour done in one smooth stroke. Connect your contour to wherever you like on the winged edge (I go to halfway of the line that I first drew). Then go back underneath your line and fill in from your eyelashes to the outline of your liner. 

Wing, contour, and fill-in eyeliner application
Now apply your mascara of choice and voila, you have a pretty look that is appropriate for anytime of day or night!


Let me know if there's anything any of my readers would like to see in the future! Hope you had fun reading this post :)